Review the Results
Contents
Iguana’s extensive logging system monitors the message queue and also reports on all actions performed by the Iguana server. This enables you to track your messages, evaluate the performance of your channels, and manage the behaviour of your server.
Let’s have a look at the six “live” messages that we just passed through our channel:
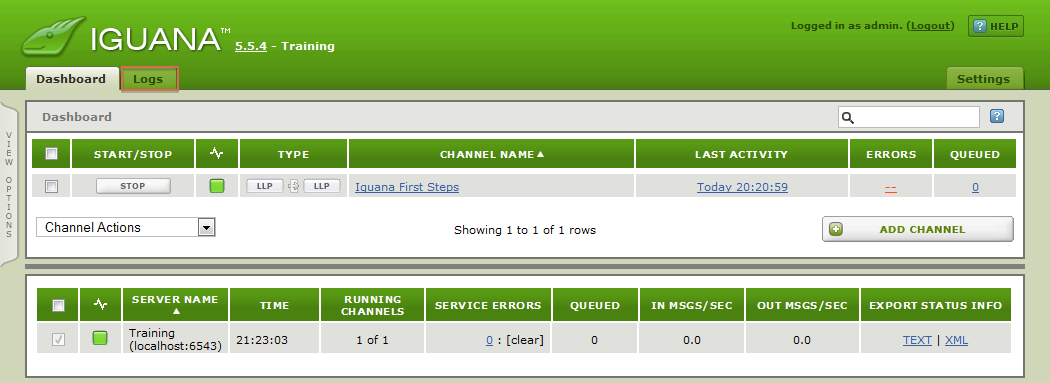
- From the Dashboard, click on the Logs tab:
- In the right-hand Search Criteria panel, set Channel to “Iguana First Steps” and the Type to “Messages”:
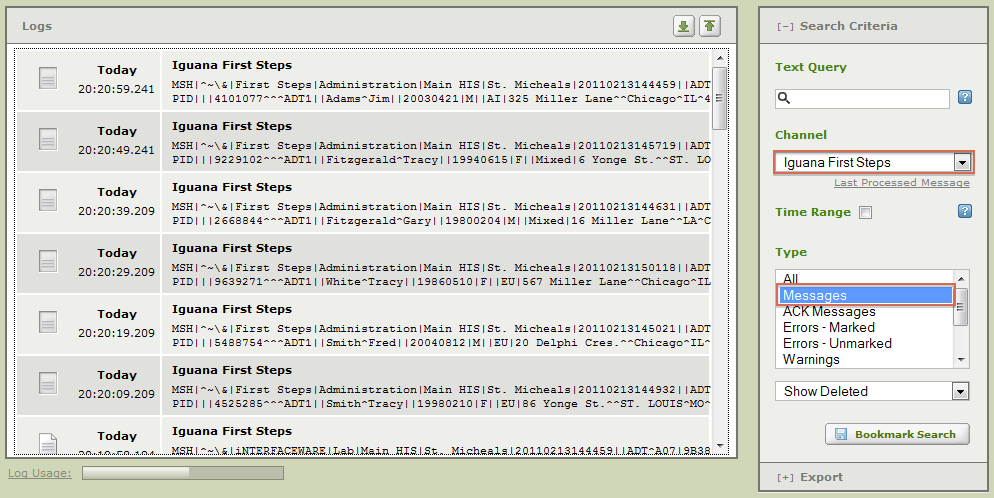
With this search filter in place, the Logs are now only showing the six messages that were processed when we ran our channel:
- The six messages that were sent out are listed at the top (as the most recent activity)
- The six input messages are listed at the bottom, and marked as “processed”
In the screenshot below, we’ve highlighted two corresponding input/output messages for you to compare:
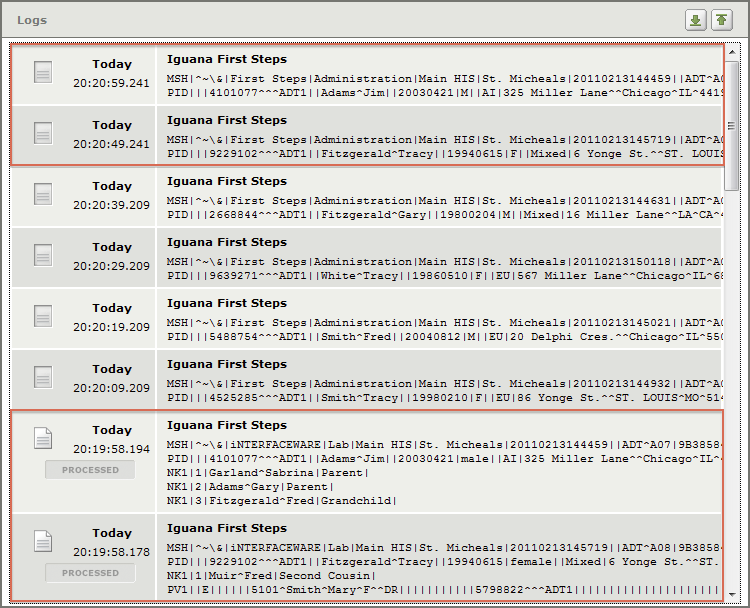
As you can see, our channel is working correctly because the output messages only contain MSH and PID segments!
Tip: As you may have guessed, there is a lot more that you can do from this screen. For example, you can:
- Reset the log so that “processed” messages can be re-processed
- Export messages to a file or to the Translator as sample data
- Access more filtering options (including using regex text queries to identify specific messages)
If you are curious, check out this wiki section: Understanding Iguana’s Logs.
Let’s review what you’ve learned in this tutorial and talk about some the things that you could try next!