In this tutorial you will learn how to create and delete a channel.
There are many possible channel configurations, depending on your interface requirements. In this tutorial we will create a channel to receive and forward HL7 messages using LLP.
Tutorial Instructions [top]
Create the channel
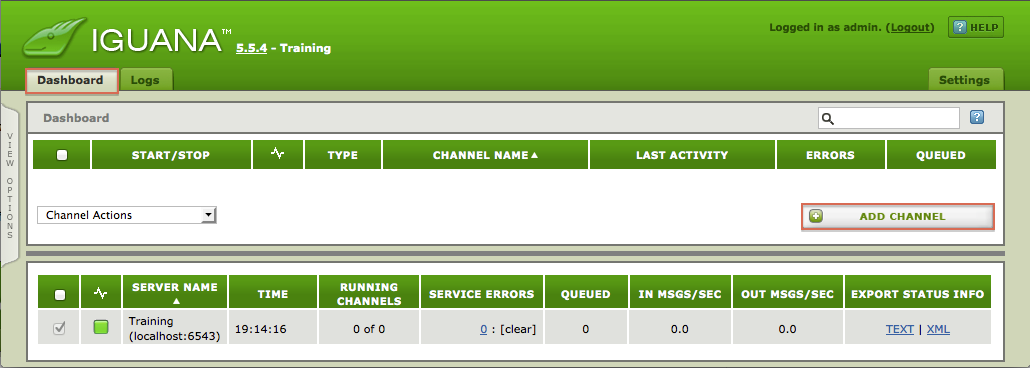
- Go to the Iguana Dashboard.
- Click the Add Channel button:
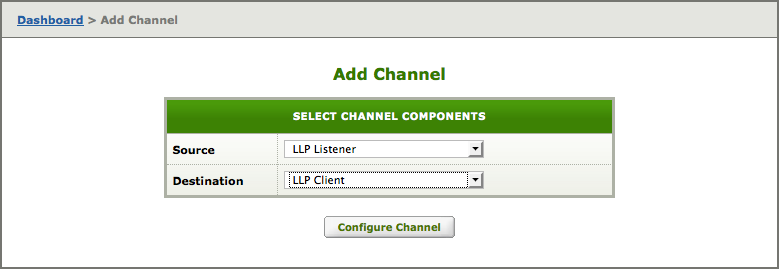
- In the Add Channel dialog choose the following channel components:
- Source = LLP Listener
- Destination = LLP Client
Tip: There are many other useful Source and Destination combinations that you could choose depending on your requirements. See More Information below.
- Click the Configure Channel button.
- In the Configure Channel window select the Channel tab, and enter the following information:
- Channel name = Enter a meaningful Channel Name
- Description = Enter a meaningful description

- Activate the (optional) Filter component.
Click the Filter tab and check Use Filter:

- Click the Add Channel button to create the Channel, and you’re done!
Delete the Channel
- Click the REMOVE CHANNEL button at the bottom right in the Control Panel:

- At the confirmation dialog, click OK to confirm the deletion.
Tip: If a channel is running you must stop it before you can delete it.
You can stop a channel using the STOP CHANNEL button at the top of the Control Panel, or by using a STOP button in the Dashboard.
More Information [top]
- Adding a New Channel, describes recommended and legacy components
- Channel Settings, describes channel settings for all channel types