Introduction
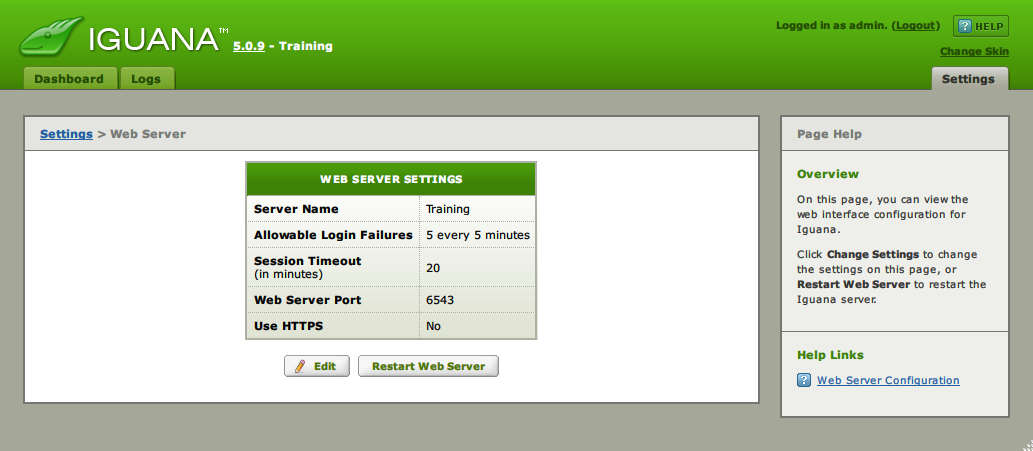
These settings allow configuration of the built in web server used by Iguana’s user interface and the label of the Iguana server. Iguana does not make use of any external web server such as Microsoft IIS or Apache.
Basic Configuration [top]
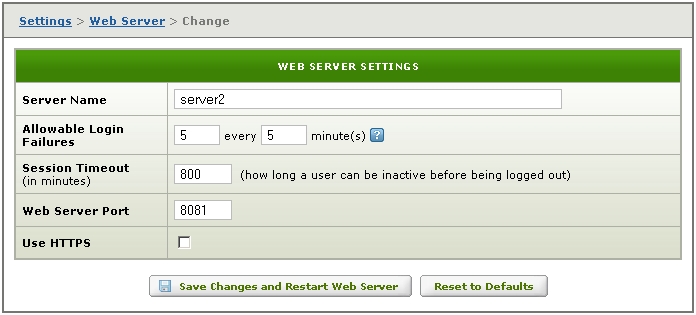
Click Edit to change settings:
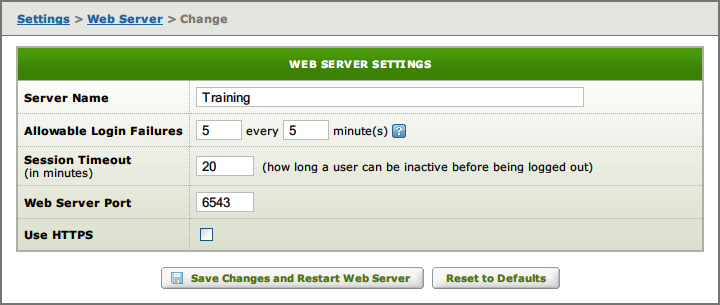
Enter the desired settings then press Save Changes and Restart Web Server.
Server name:
- Specify the name of your Iguana Server.
- To include an Environment Variable in the Server Name, use ${variable name}.The Server Name will be previewed like this:
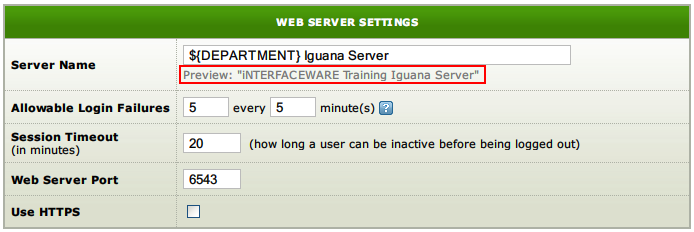
Setting the server name can be very helpful in large environments where there are multiple Iguana servers that need to differentiated.
Allowable Login Failures:
- If this setting is exceeded the user is locked out for 5 minutes.
Session Timeout:
- If the user is idle for longer than this they will be logged off.
Web Server Port:
- The default web server port is 6543.
- If this port is not available you must choose another port.
- The web server port is used to connect to Iguana for remote administration and monitoring etc.
Use HTTPS:
- Sets the server to use secure HTTP.
- The public/private key and certificate files must be in PEM format and cannot be password protected.
- HTTPS uses the Web Server Port (or the dedicated port specified in the HTTP(S) Channel Settings) for TCP, instead of port 80 that is used for HTTP.
Turning on HTTPS Support [top]
Iguana’s HTTPS functionality is useful for ensuring that confidential data remains private. This includes fields such as SSN and Patient ID numbers. It is also useful for securing any changes made within the Dashboard, as these changes will be encrypted within your browser’s HTTPS layer. The acknowledgement that you receive from the web server will also be encrypted, and will be decrypted using your browser’s HTTPS sub-layer.
To turn HTTPS support on in Iguana:
- Click the Settings tab at the top right of the screen.
- In the Settings screen, click Web Server Configuration.
- Click Edit. The Edit Web Server Settings page appears:
- Select the Use HTTPS check box to enable HTTPS support. The Certificate File and Private Key File fields appear:
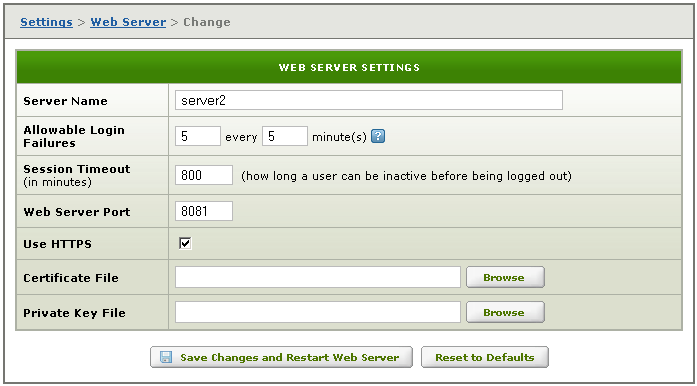
- In the Certificate File field, enter the full path of the certificate file you want to use.
- In the Private Key File field, enter the full path of the public/private key file you want to use.
- Click Save Changes and Restart Web Server to save your changes and restart the web server. The Web Server Settings page now displays the location of the certificate and the private key:
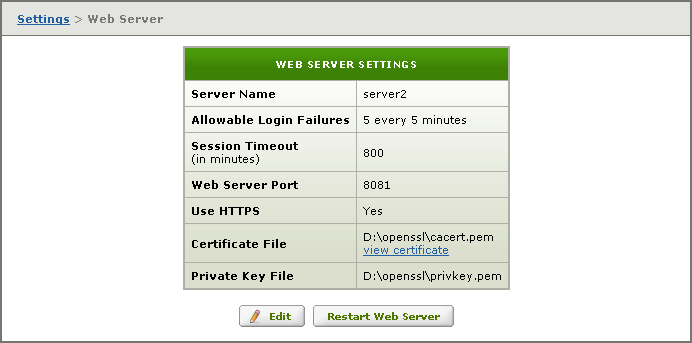
- Verify that the web server is now secure by checking that Iguana’s web address is preceded by https://.

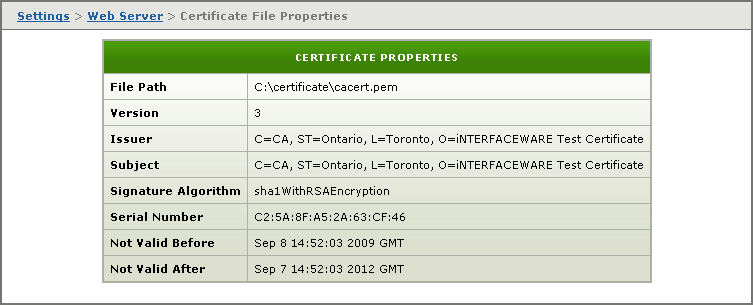
- To view the certificate that the Iguana server is now using, in the Web Server Settings screen, click the view certificate link. The certificate properties are displayed: