The Web Interface
Contents
This article describes how to configure Iguana after it has been installed and deployed.If you are migrating Iguana to a new machine then see Moving Iguana from one Server to Another.
Accessing the Web Interface
Iguana has an intuitive web interface, which makes remote administration and monitoring easy. As long as the Iguana service is started, the web interface will be easily accessible by opening any web browser and pointing it to a specific port on your local machine.
To access the web interface:
- Ensure the Iguana Service is running.
- In your web browser’s address bar, type http://localhost:6543 (6543 is the default web server port).
Note: You can also easily access Iguana’s web interface remotely by entering either one of the following lines in your web browser’s address bar:
- http://host_name:6543, where host_name is the name of the host that’s running Iguana, or
- http://ip_address:6543, where ip_address is the IP address of the machine that’s running Iguana.
In all cases, 6543 is the default web server port. Your installation of Iguana may have specified a different web server port. See Installing Iguana for details.
You can change the port on which the Iguana web server is running. For more information, see Changing Iguana’s Default Web Server Port.
- When you start the web interface, a screen may appear that displays the informational messages generated by the Iguana service upon startup. You can examine these messages to ensure that your server is behaving as expected.
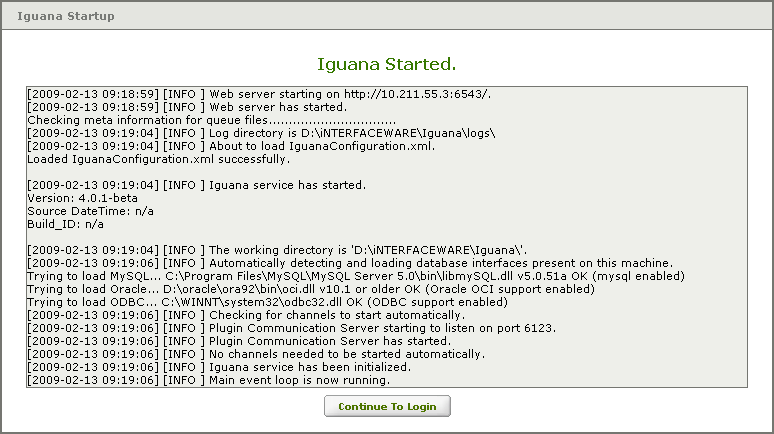
- Click Continue To Login to continue to the Iguana login screen.