Changing the Logging Level
Contents
For each channel, you can specify a logging level. This enables you to control the types of log messages that are generated for this channel.
Note: You must be a member of the Administrators role to specify the logging level for a channel. See Roles for more information on roles in Iguana.
The following logging levels are defined:
| Level | Meaning |
|---|---|
| Normal | Display all errors and messages. |
| Errors | Display errors only. |
| Debug | Display all errors and messages, plus debugging messages. |
Note: If you are experiencing performance problems with your database connection, you can use Debug to log messages and track database performance. See Using Logging to Track SQL Performance for more details.
To specify the logging level:
- Click the Dashboard tab, and click the name of the channel for which you want to set the logging level.
- The Channel Information screen for that channel is displayed:
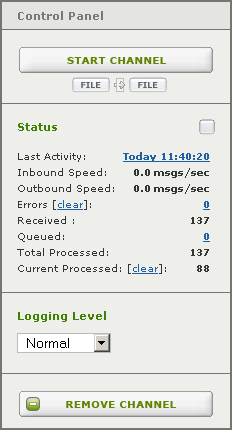
- From the Logging Level list box, select the logging level you want to use.
- Click Configure Channel to update the logging level for the channel.
You can also set the logging level using the Channel Properties screen. From this screen, you can change the logging level for all channels.
To do this:
- Click the Dashboard tab, the Dashboard page appears.
- In the bottom Server Panel, click the Channel Info > Properties link:

- The Channel Properties screen appears:

- Locate the row for the channel whose logging level you want to change.
- In the list box in the Logging Level column, select the logging level you want to use.
- Click Save Changes to apply your changes.
Back to: Logs Screen Overview
Pingback: Top Support Questions of March 2015 - iNTERFACEWARE Inc.