Populate the Database
Contents
The previous section, Understanding the Mapping Script, showed how the mapping script extracted patient data from an ADT message and loaded it into the table node tree. This section also showed how annotations, located next to the code, enabled you to determine what values would be mapped from a sample message into the tables in the tree.
The annotations can also be used to display the contents of the table node tree that you are creating (to merge into the database).
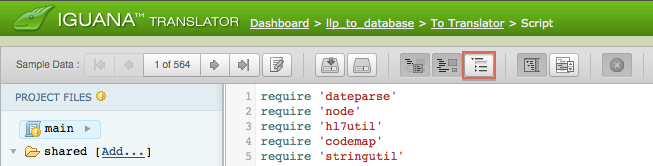
To see how annotations work with node tree tables, take a look at the annotation located next to the call to db.tables(). An ADT link is included in this annotation:

When you click this ADT link, a popup window appears, displaying the table node tree that you are creating:

As you can see, these tables are empty, as no data has been mapped to them. To view the fields of these empty tables, click the Show Empty Nodes button at the top of the Iguana Translator screen:
The popup window is then updated to display the tables that have been created:
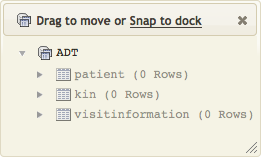
In this example, three tables have been created: a table for patient data, a table for next-of-kin data and a table for visit information.
Note: The tables to be created are specified by the VMD file that is passed to db.tables() when it is called. In this example, this VMD file is the demo.vmd (from the example directory under the Iguana install directory).
In the mapping script, the variable Out stores the table node tree. These table trees are passed to the ProcessLab() and ProcessADT() functions that parse the incoming messages. The rows of the tables are then passed to the functions that perform the actual mapping. For example, examine the ProcessADT() function that parses incoming ADT messages:

There is only one patient with one weight, so only a single row is passed to the MapPatient() and MapWeight() mapping functions. A patient can have many kin so a for loop is used to process them, and to pass multiple table rows to the MapNextOfKin() mapping function.
There is an ADT link in the annotation next to the return Out statement:

Click the ADT link to see the data that has been mapped:
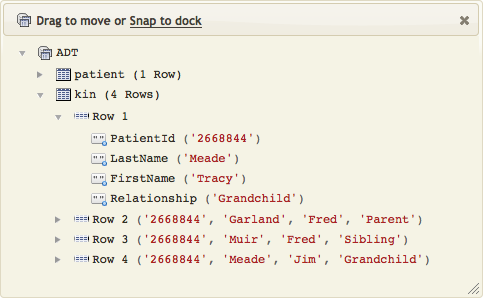
Note: Click the arrowS next to each row to show or hide details.
This makes it very easy to confirm that you have loaded the correct data into the table node tree.
Next Step?
Once you have determined that your data is correct, then the next step is to merge the node tree tables into your existing database.