Create the Channel
Contents
First, we need to create the channel through which the message data will be sent.
To create the channel:
- In the Dashboard, click Add Channel.
The Select Channel Components dialog appears:

- From the Source list box, select LLP Listener.
Note: For this tutorial the message source is a stream of HL7 ADT messages from an LLP connection. - From the Destination list box, select To Translator.
- Click the Configure Channel button. The Configure New Channel screen appears, offering us several tabs that we can use to configure channel settings:

- In the Channel Name field, type the name of the channel. In this tutorial, we will use llp_to_database (but you can enter any name).
- Click the Source tab to view the configuration settings for the source component (in this case, an LLP listener). The following screen appears:

- Ensure that “Unicode (UTF-8)” Message encoding is selected, do not change any of the other values.
- Click the Destination tab. The following screen appears:
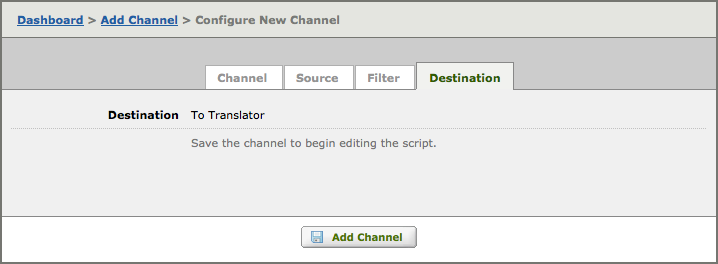
As you can see above, you cannot access To Translator destinations settings or view its mapping script until after you have created the channel. - Click Add Channel to finish adding the channel.
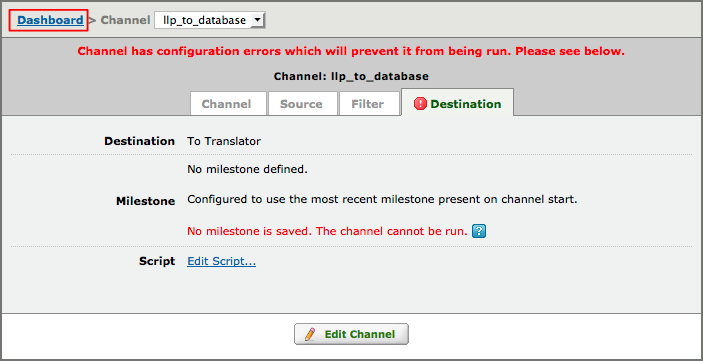
Note: The “milestone error” is expected, it simply means you need to add code and save a milestone before you can run the channel. We will import the code on the next page. We will save a milestone on the penultimate page of this Tutorial.
- Click the Dashboard link. As you can see Iguana has created the channel and automatically added it to the Dashboard.
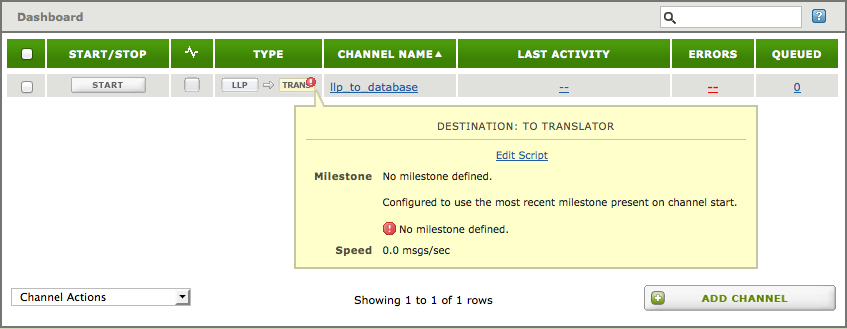 As you can see the same “milestone error” is also show on the Dashboard.
Next Step?
Now that we’ve created a channel, we can use its destination component to access the Translator and import the code we will use for this tutorial.
Continue: Load the Mapping Script