Create a Channel to measure the load
Contents
The next step is to set up a test channel in Iguana to simulate the demand of messages you will be receiving during those peak hours.
Ensure that the Iguana service is started, and you are logged into the web interface as described in Logging into the User Interface.
Note: Since this is just a test, specific channel configuration options will not be discussed in this section. For more information about configuring channels, see Iguana Channel Settings. In a real-world situation, you should be using your custom channel settings to perform the tests.
The following sections describe how to create a test channel using Iguana.
Add the test Channel
- Open Iguana.
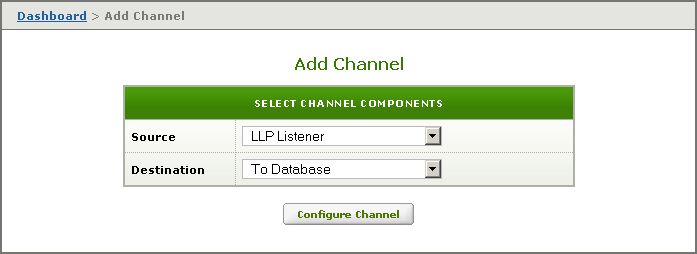
- In the Dashboard Control Panel, click Add Channel. The Add Channel screen appears.
- Select LLP Listener as the Source and To Database as the Destination, since you will be receiving HL7 messages over TCP/IP and putting them into a database.
- Click Configure Channel.
Fill out the test Channel Details
- In the Channel name field, specify a name to identify the channel on the Dashboard and in the logs.
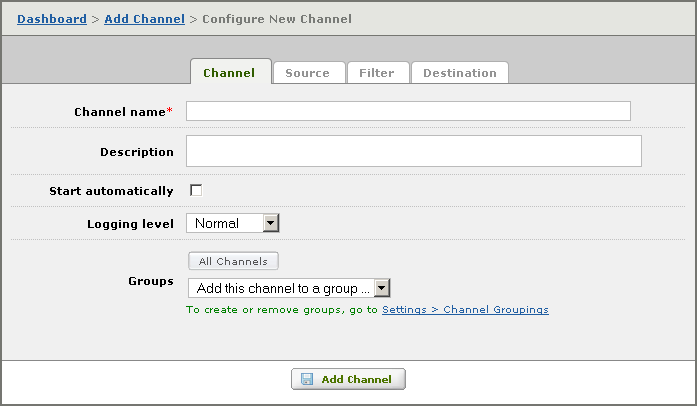
For this tutorial, you can leave the rest of these fields unchanged. See Configuring the Channel Details for more information.
Configure the LLP Listener Component
- Click the Source tab.
- In the Port field, specify the port you want to listen on for LLP-encoded HL7 messages.
Note: This can be any unused port.
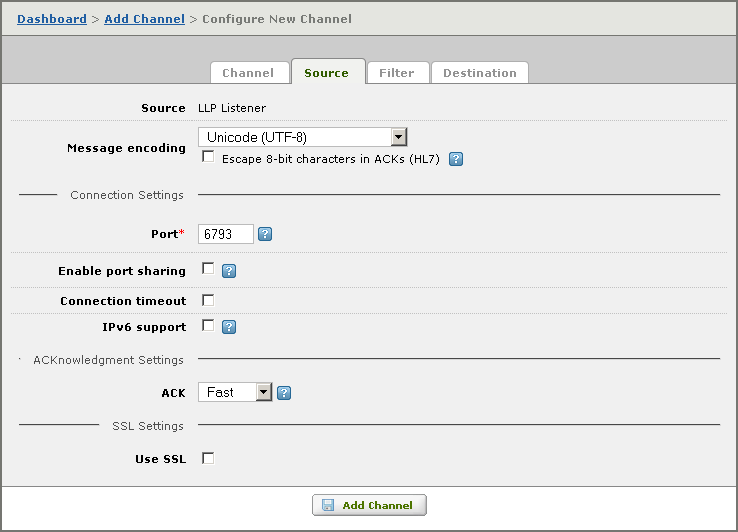
For this tutorial, you can leave the other fields unchanged. For more information on the fields in this screen, see Settings for the LLP Listener component.
Configure the To Database Component
- Click the Destination tab.
- From the Database API list box, select the database API you will be using (for example, MySQL).
- In the Data source field, specify either the ODBC Data Source name (if you are using an ODBC Database API), or the actual name of your database (if you are using a non-ODBC API).
- In the Database username and Database password password fields, type the username and password required to access the database. This would have been set by the database administrator. In some cases, these two fields may be left blank.
- In the Full parser VMD path field, type the path of the VMD file you want to parse the messages with. For test purposes, you can download and use this advanced03.vmd.
- Leave all the other fields as is. (For more information on these fields, see Settings for the To Database component.)
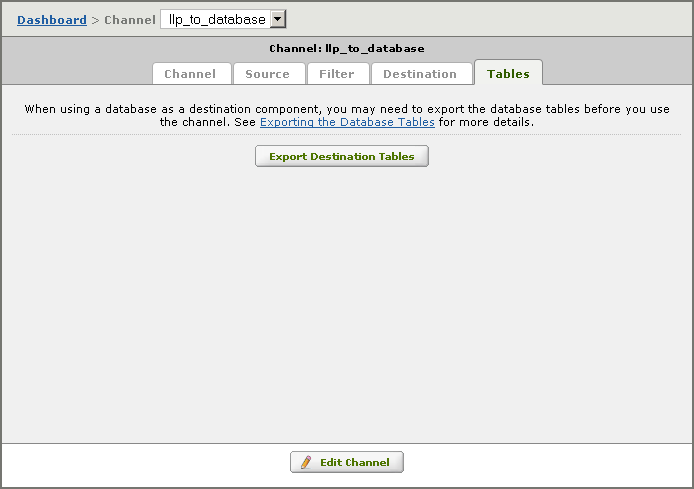
Export Database Tables for the channel
- Click the Tables tab.
Note: This tab appears when you create a channel that has a database as the source or destination component. - Click Export Destination Tables:
- An Export Tables preview screen appears, listing the SQL statements that will be used to create the tables:

- In this screen, click Confirm Table Export. The tables are exported to the specified database API.
The channel has now been created.