Prepare to Map Data
Contents
This is where you will fall in love with the Translator. In this part of the tutorial I am going to leverage synchronized annotation dialogs.
We’ll prepare our environment by opening up two dialogs:
- The first shows the results of the SQL query from NHCCVISREPORT
- The second shows the output HL7 message
One key point though is we want to see the HL7 message, after we have mapped data into it. To make that easy I will use a little trick of setting up a trace() function like so:

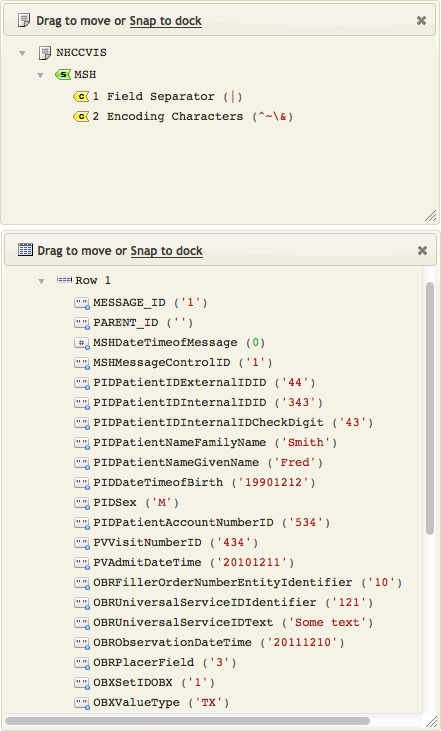
To get our dialogs with the source and destination trees we can now double click on:
- The Result Set on line 2
- The NHCCVIS message icon on line 9
After arranging the dialogs we should get something like this:
Now when we do the mapping we will see the data change in real time.
Next Step?
Now we have set up two dialogs to monitor how our data changes in real time. The next step is to write the mappings, and see the dialogs in action.
Continue: Write the Mappings